

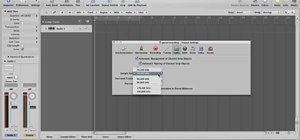
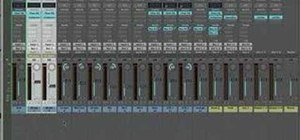
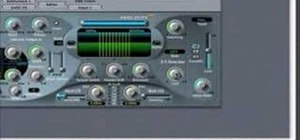
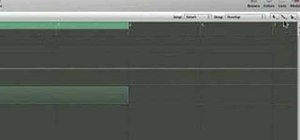
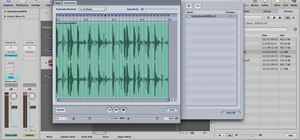
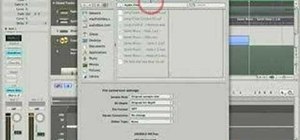
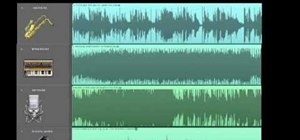
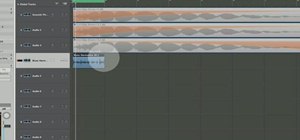
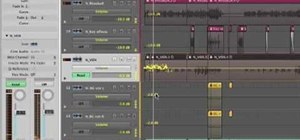
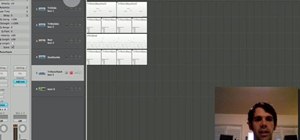
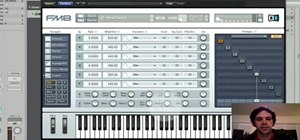
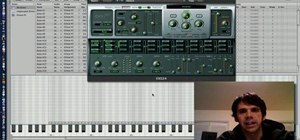
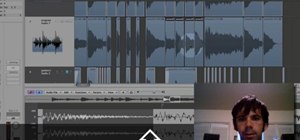
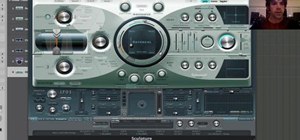
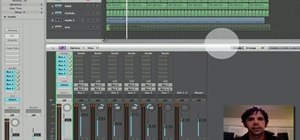
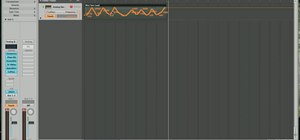
In this video, you will learn how to record using Apple Logic Pro 9. First, open the program and save the session. Make sure your audio interface is set before recording. Go to global settings and navigate to audio. Click on the general tab and change the audio settings. Wave files are the industry standard. Make sure 24-bit recording is checked. Software monitoring will allow you to monitor the audio. Save this and change the project settings. You can adjust the sample rate of your recordings. Click the i button on the track header to check if audio is going into your input. You can set your levels using the monitors. You can change your latency by changing the buffer size, in case you have a lag between the input and recording process. Change the track name to be able to identify what it is. Click the R button so that the track is able to record. Hit the record button to record. By viewing this video, you will learn all the required steps to record a track in this program.
Just updated your iPhone? You'll find new emoji, enhanced security, podcast transcripts, Apple Cash virtual numbers, and other useful features. There are even new additions hidden within Safari. Find out what's new and changed on your iPhone with the iOS 17.4 update.


Be the First to Comment
Share Your Thoughts